Gait in relation to the level of lumbar disc herniation
December 19, 2011
How to Fix a Bulging Disc (NO SURGERY!)
November 14, 2022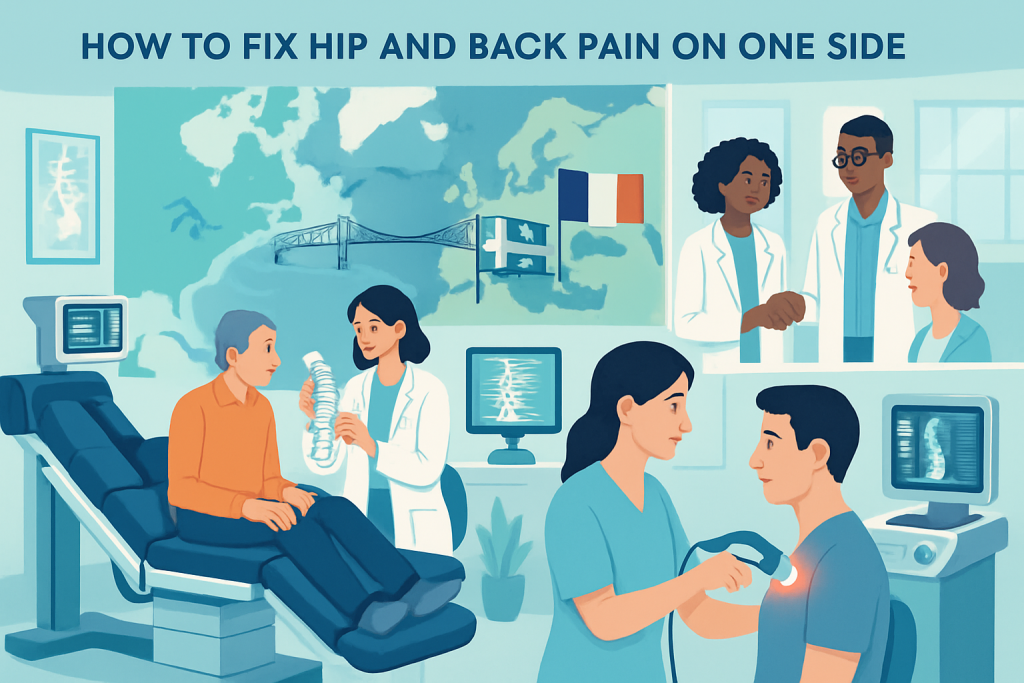
Experiencing persistent pain on one side of the hip and lower back can be debilitating, restricting not only movement but also the enjoyment of daily activities. Such discomfort often signals specific underlying issues requiring targeted attention. In 2025, advances in spinal care and hip management emphasize a multidimensional approach, blending state-of-the-art therapy techniques with lifestyle changes and expert clinical evaluations. Addressing this kind of asymmetric pain involves understanding its root causes, which can range from musculoskeletal imbalances and nerve compressions to degenerative joint changes and inflammation. Healing then stems from a personalized, careful balance of exercise therapy, technology-driven interventions, and precise medical oversight. With over 35 years dedicated to spinal health, Dr. Sylvain Desforges offers a unique perspective as an osteopathic expert, harnessing evidence-based innovations such as neurovertebral decompression and laser modalities. This article unpacks the complexities of one-sided hip and back pain, revealing actionable strategies to alleviate symptoms, improve function, and restore life’s quality.
Understanding the Anatomy Behind Hip and Lower Back Pain on One Side
To effectively fix hip and back pain localized to one side, it is fundamental to grasp the anatomical layout connecting these regions. The hip is a ball-and-socket joint, linking the thigh bone (femur) to the pelvis. This sophisticated joint permits extensive movement, from walking and running to twisting and bending but is vulnerable to wear, injury, or inflammation. The lower back houses the lumbar spine, which supports body weight and provides mobility. Together, these intertwined structures facilitate mobility but also predispose individuals to pain syndromes when any component is compromised.
The interdependence between hip and lower back structures often complicates diagnosis. Dysfunction or injury in one area frequently causes referred pain in the other. For example, degenerative changes in the hip joint might provoke compensatory muscular strain in the lower back. Conversely, a herniated lumbar disc can affect nerves that supply the hip region, manifesting as unilateral discomfort.
Common anatomical contributors to pain on a single side include:
- Facet joint irritation in the lumbar spine causing localized tenderness and motion restriction.
- Sacroiliac joint dysfunction, which connects the pelvis to the spine and often creates asymmetric pain patterns.
- Muscle imbalances or strains in muscles like the gluteals, iliopsoas, or quadratus lumborum.
- Nerve impingement, notably sciatic nerve irritation leading to radiating one-sided hip pain.
- Inflammatory conditions such as bursitis or tendinitis affecting hip tendons or bursae.
By evaluating these anatomical factors thoroughly, healthcare professionals like Dr. Sylvain Desforges deliver tailored assessments that avoid generic approaches. His extensive clinical expertise, supported by qualifications in osteopathy (D.O.) and naturopathy (N.D.), allow him to identify nuances in symptom presentation, leading to effective management plans.
| Anatomical Region | Potential Cause of Unilateral Pain | Typical Symptoms |
|---|---|---|
| Hip Joint | Osteoarthritis, Bursitis, Tendinitis | Groin pain, outer hip tenderness, stiffness |
| Lumbar Spine | Herniated disc, Facet joint syndrome | Lower back stiffness, radiating leg pain |
| Sacroiliac Joint | Dysfunction, Inflammation | Lower back pain, buttock discomfort on one side |
| Muscles | Strain, Imbalance | Sharp localized pain, spasms |
Such detailed insights into anatomy inform the development of non-invasive therapies, aligning well with modern techniques Dr. Desforges specializes in, like spinal decompression therapy and precision osteopathic manipulations, which are proven to reduce pain and improve mobility without surgical intervention. For those seeking in-depth details, resources such as this article provide extensive clarifications on back pain origins and treatment.

La Prairie Lumbar Disc Recovery Without Hospital Stay
Back pain remains one of the most prevalent health issues affecting millions worldwide, and lumbar disc problems are often at the core of this persistent discomfort. In La Prairie, a community increasingly aware of spinal health, the conversation has shifted…
Common Causes of Pain in One Hip and Lower Back: Identifying the Culprits
Unilateral hip and lower back pain can stem from an array of causes that require accurate identification to ensure proper treatment. Dr. Desforges emphasizes a holistic yet scientific approach, advocating comprehensive evaluation before deciding on a care plan. Here are the predominant causes explained:
- Osteoarthritis: Progressive cartilage degeneration within the hip joint, commonly seen in older adults, leads to stiffness and localized pain. The load-bearing nature of the hip makes arthritis-induced discomfort more evident on one side, especially if wear is uneven.
- Greater Trochanteric Bursitis: Inflammation of the bursae on the hip’s outer side typically causes burning or aching pain, aggravated by walking or lying on the affected hip.
- Tendinitis: Overuse or repetitive strain of tendons around the hip, such as the iliopsoas or gluteus medius, leads to inflammation resulting in sharp pain localized to one side.
- Muscle Strains: Sudden or repetitive motions can overstretch muscles like the quadratus lumborum or piriformis, causing spasms and pain confined to the injured side.
- Sciatica: Compression or irritation of the sciatic nerve in the lower back radiates pain down one leg and hip, often worsened by sitting or bending.
Understanding symptoms is crucial for differentiation:
- Pain localized to front, side, or back of the hip.
- Stiffness or reduced range of motion.
- Radiating sensations into thigh or knee.
- Swelling or tenderness around the joint.
Given the complexity, Dr. Desforges applies precise osteopathic tests alongside advanced imaging referrals when needed to pinpoint the exact source. This methodical approach allows selection of suitable therapies, potentially incorporating shockwave therapy or laser treatments, which have shown promising results.
| Condition | Symptoms | Typical Treatments |
|---|---|---|
| Osteoarthritis | Joint stiffness, aching pain in hip | Physical therapy, weight management, pain meds |
| Bursitis | Outer hip tenderness, swelling | Rest, ice, corticosteroid injections |
| Tendinitis | Localized hip pain, aggravated by movement | Physical therapy, anti-inflammatory meds |
| Sciatica | Radiating leg and hip pain, numbness | Spinal decompression, medications, exercises |
This detailed understanding contrasts with some common misconceptions that lead patients toward unnecessary surgeries without exploring conservative paths first. The tailored programs at Clinique TAGMED, pioneered by Dr. Desforges, follow ethical guidelines from the Collège des médecins du Québec and prioritize patient safety and comprehensive, non-invasive management.


Mirabel Neck Herniation Prevention for Active Adults
In the vibrant community of Mirabel, where active adults strive to balance dynamic lifestyles with physical well-being, neck herniation prevention has become a paramount concern. With neck pain increasingly impacting daily activities, work performance, and overall quality of life, understanding…
Efficacy of Spinal Decompression and Osteopathic Techniques for One-Sided Hip and Back Pain
Among the forefront methods employed to address unilateral hip and back discomfort are spinal decompression therapies coupled with osteopathic manual interventions. These techniques, embraced by clinicians like Dr. Sylvain Desforges, harness emerging technology integrated with time-tested osteopathic principles.
Spinal decompression therapy utilizes specialized motorized tables to gently stretch the spine, creating negative pressure within the intervertebral discs. This action helps reposition bulging or herniated discs, reduce nerve compression, and improve nutrient flow to damaged spinal tissues. For patients with radiating one-sided pain stemming from lumbar disc issues, decompression often facilitates significant relief without invasive surgery. The therapy is complemented by advanced treatment modalities such as Hyperice devices, Biofreeze topical applications, and the use of TriggerPoint tools to enhance muscle release.
Osteopathic techniques focus on restoring balanced motion and function across musculoskeletal structures. Manual manipulations target soft tissues, joints, and fascia, addressing restrictions that contribute to asymmetric pain presentations. Dr. Desforges’ approach exemplifies individualized care, combining structural correction with patient education to empower ongoing self-management.
- Advantages of spinal decompression and osteopathic care include:
- Non-invasive pain relief targeting specific damaged discs or joints.
- Improved spinal alignment reducing muscle imbalances.
- Minimal side effects with enhanced patient comfort.
- Integration with adjunctive therapies like laser or shockwave treatment.
Studies published on prospective randomized trials confirm spinal decompression’s effectiveness in chronic unilateral low back pain management. Patients report less pain, improved mobility, and a higher quality of life post-treatment.
Incorporating products from the likes of Theragun and Moji assists patients in self-massage and myofascial release at home, extending benefits beyond clinical sessions. Meanwhile, tempur-pedic support cushions and Skechers footwear contribute to ergonomic support during recovery phases.
| Therapy | Benefits | Complementary Tools |
|---|---|---|
| Spinal Decompression | Disc rehydration, nerve pressure relief | Hyperice, Biofreeze, TriggerPoint |
| Osteopathic Manual Therapy | Muscle balance, joint mobility restoration | Theragun, Moji |
Vaudreuil-Dorion Chronic Sciatica Relief After Failed Care
Residents of Vaudreuil-Dorion facing chronic sciatica often find themselves confronted by persistent nerve pain that significantly disrupts daily activities and quality of life. Chronic sciatica, stemming primarily from nerve root irritation usually due to herniated discs or spinal degeneration, remains…
Targeted Exercise Programs: Strengthening and Stretching to Relieve Hip and Back Pain on One Side
Structured exercise regimens specifically designed to relieve pain on one side provide an essential pillar of recovery. Rehabilitation exercises focus on restoring muscular symmetry, improving spinal flexibility, and reducing nerve irritation. Under expert guidance, patients learn to perform stretches and strengthening moves correctly to prevent further injury.
Recommended stretching exercises include:
- Hip Flexor Stretch: Kneeling on one knee while gently pushing hips forward, stretching the front of the thigh.
- Figure Four Stretch: Lying on the back, crossing one ankle over the opposite knee, pulling gently to stretch the gluteal muscles.
- Piriformis Stretch: Lying down, pulling one knee toward the opposite shoulder to alleviate sciatic nerve tension.
Strengthening exercises enhance stability and muscular support around the hip and lower back:
- Glute Bridges: Lying on the back with knees bent, lifting hips while squeezing glute muscles.
- Clamshells: Side-lying with knees bent, lifting the top knee while keeping feet together to target hip abductors.
- Bird-Dogs: On hands and knees, extending opposite arm and leg to improve core stability.
Incorporating these movements consistently can lead to reduced pain and improved function. Particular attention to technique and gradual intensity progression is necessary, a fact Dr. Desforges highlights when designing patient-specific programs.
Engaging in these exercises synergizes with tools such as the DonJoy braces for added joint support and Osprey ergonomic backpacks to reduce strain during daily activities.
| Exercise | Purpose | Equipment |
|---|---|---|
| Hip Flexor Stretch | Enhance hip flexibility | None required |
| Glute Bridge | Strengthen gluteal muscles | Exercise mat |
| Clamshells | Improve hip stability | Resistance band (optional) |
For in-depth tutorials on these exercises, this helpful video walking through low back and hip pain fixes is available here.

Saint-Eustache Lumbar Disc Bulge Recovery for Seniors
In the serene surroundings of Saint-Eustache, seniors facing the challenge of lumbar disc bulges are finding renewed hope through advanced recovery methods designed specifically for their unique needs. As our population ages, preserving spinal health becomes paramount to maintaining independence…
Lifestyle Adjustments That Complement Hip and Lower Back Pain Recovery
Tackling hip and back pain confined to one side extends beyond clinical treatments and exercises. Lifestyle modifications play a vital role in minimizing pain exacerbations and promoting joint longevity. Dr. Desforges champions a holistic approach addressing daily habits, ergonomics, and diet.
Key lifestyle adjustments include:
- Weight Management: Maintaining a healthy body weight decreases undue load on hip joints, alleviating stress that accelerates wear.
- Proper Footwear: Wearing supportive shoes such as Skechers ensures that walking and standing do not worsen imbalances.
- Ergonomic Support: Utilizing Tempur-Pedic cushions for sitting and Osprey backpacks to distribute carrying loads evenly reduce lower back strain.
- Activity Modification: Breaking long sitting periods with standing or gentle movement eases stiffness due to prolonged immobility.
- Nutrition: Incorporating anti-inflammatory foods rich in omega-3s aids recovery and modulates pain.
Integrating these changes into daily routines must be personalized, respecting individual conditions and responsiveness. This comprehensive strategy enhances outcomes beyond what isolated interventions may achieve.
| Lifestyle Change | Description | Health Benefits |
|---|---|---|
| Weight Management | Balanced nutrition and regular physical activity | Reduced joint load, decreased inflammation |
| Proper Footwear | Supportive, cushioning shoes | Improves walking biomechanics, reduces pain |
| Posture and Ergonomic Support | Use of Tempur-Pedic cushions, ergonomic gear | Maintains spine alignment, reduces muscle fatigue |
Pointe-Claire Chronic Back Pain Managed with TAGMED’s Care
Chronic back pain remains a significant challenge for many residents of Pointe-Claire, profoundly influencing their daily lives and overall well-being. The persistent discomfort, reduced mobility, and psychological stress associated with spinal conditions demand advanced and compassionate healthcare solutions. Fortunately, innovative…
The Role of Interdisciplinary Collaboration in Managing Complex Pain Cases
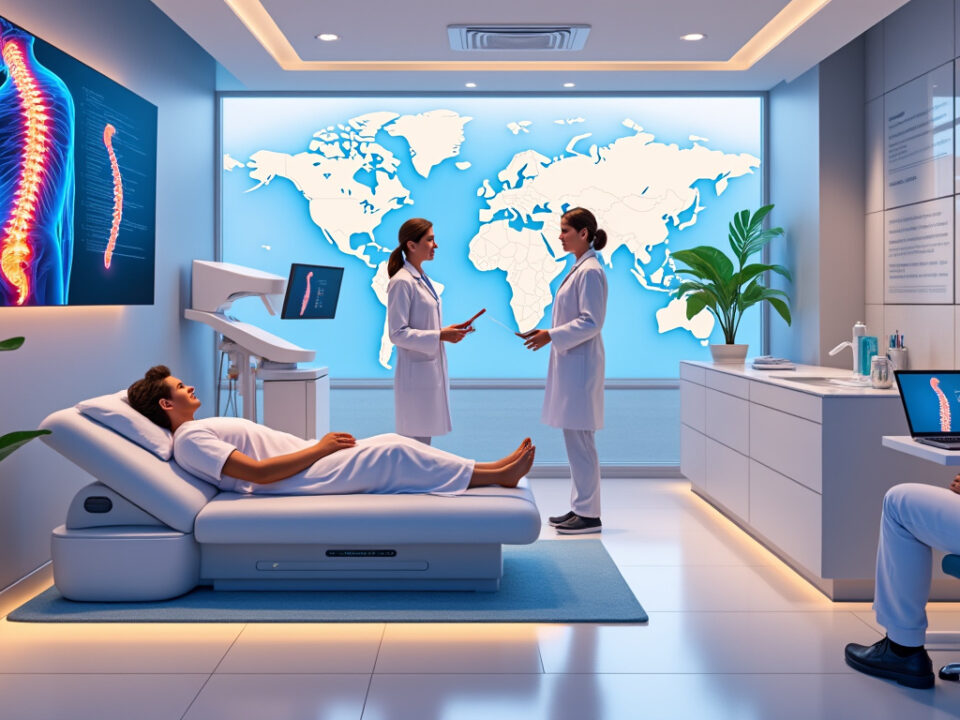
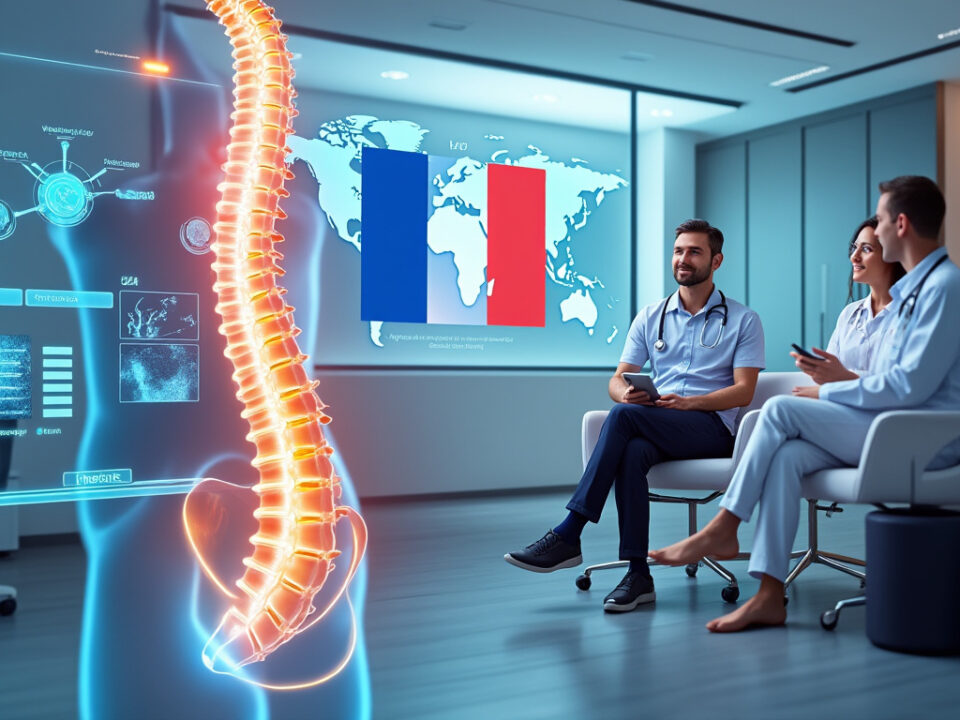
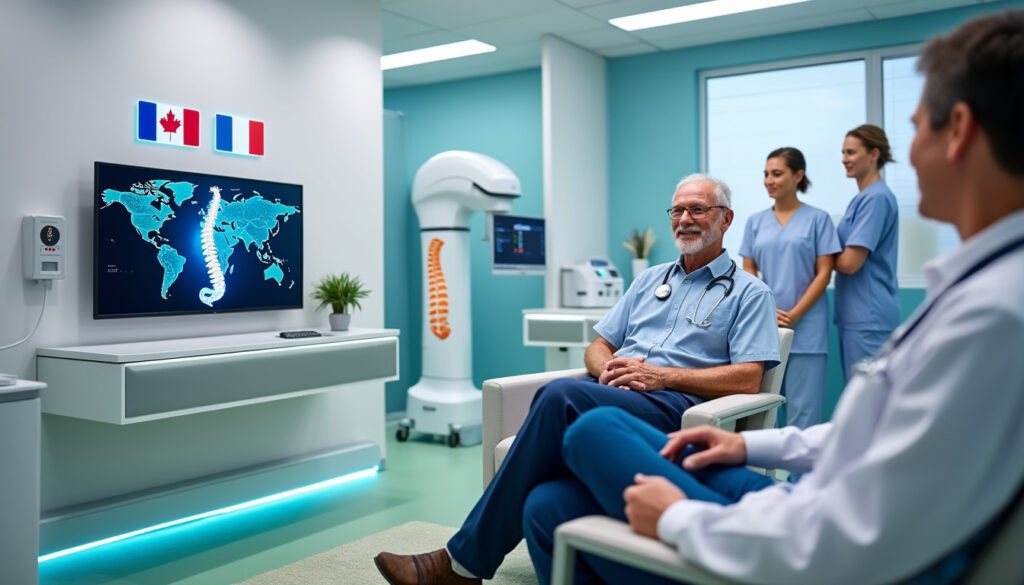
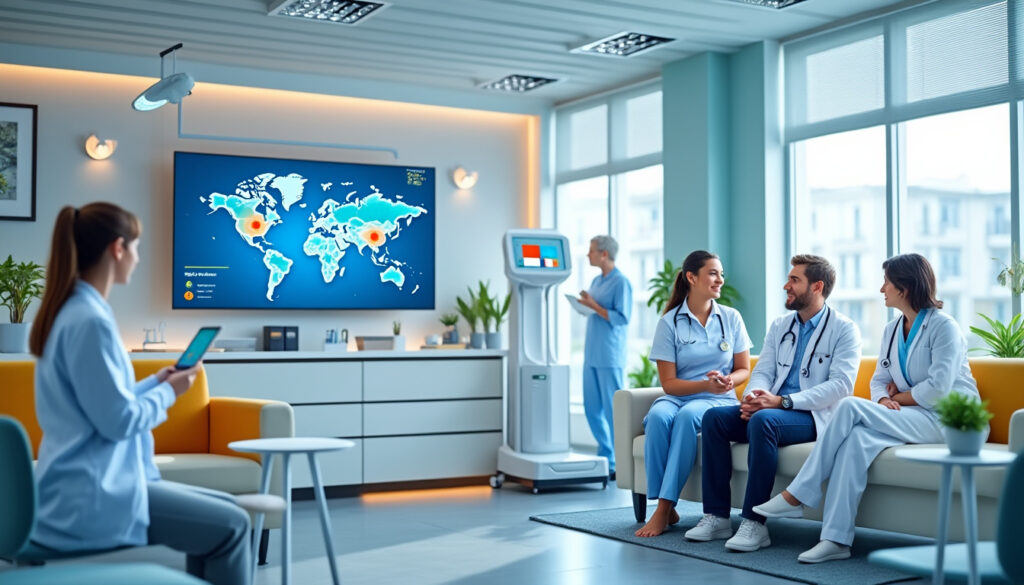
Addressing unilateral hip and lower back pain effectively often requires an interdisciplinary approach, uniting medical, osteopathic, physiotherapy, and sometimes surgical expertise. Dr. Sylvain Desforges actively coordinates comprehensive care journeys, including international collaboration between Canadian and French medical teams through platforms like SOS Tourisme Médical.
This transatlantic coordination ensures patients receive optimal treatment timelines and access to advanced surgical devices or dynamic spinal implants unavailable locally. The alliance underscores the importance of innovation combined with patient-centric ethics and transparency.
Examples of collaborative interventions include:
- Shared evaluation protocols to standardize diagnostics across borders.
- Referral for minimally invasive surgeries in specialized European centers when conservative care is insufficient.
- Integration of post-operative rehabilitation plans supervised by osteopaths and physical therapists certified in both countries.
Moreover, this interdisciplinary network actively incorporates cutting-edge rehabilitative technologies, ensuring continuous improvement in patient outcomes through research-driven adaptations.
Châteauguay Neck Pain Recovery in Older Adults
Neck pain remains a prevalent and often debilitating issue among older adults in Châteauguay, significantly impacting their daily activities and overall quality of life. The prevalence of this condition is compounded by age-related changes in musculoskeletal health, which can exacerbate…
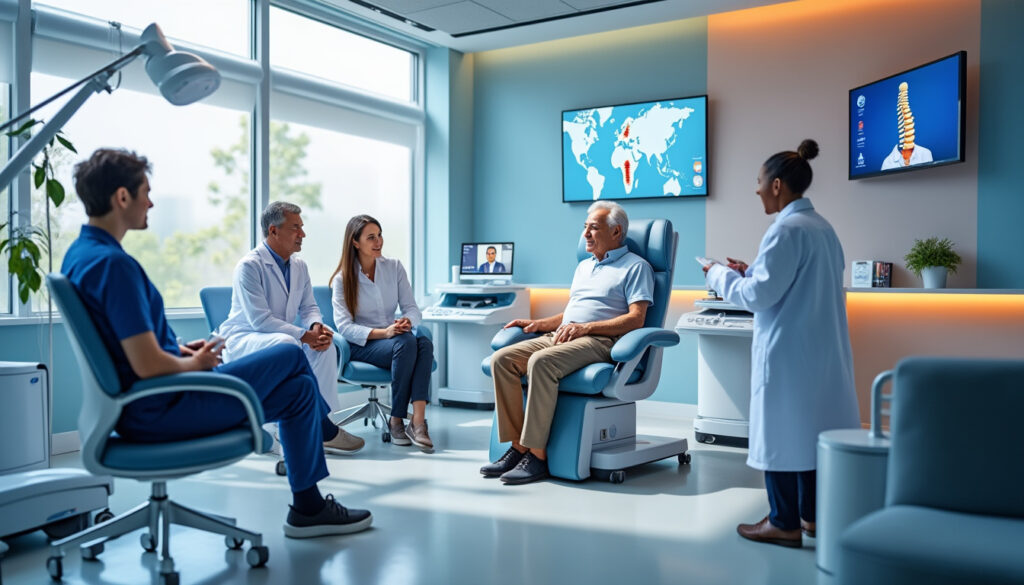
Advanced Technologies and Innovations in Treating One-Sided Hip and Back Pain
2025 is marked by technological breakthroughs in non-surgical and minimally invasive treatments for unilateral hip and back pain. Dr. Desforges integrates these forward-thinking methods within Clinique TAGMED, advancing patient care beyond traditional modalities.
Among these technologies are neurovertebral decompression devices enabling dynamic spinal stretching, reducing nerve pressure; laser therapy promoting cellular repair and inflammation reduction; and shockwave therapy facilitating tissue regeneration. These methods exhibit growing evidence supporting their roles in alleviating pain while shortening recovery time.
Complementary tools such as Moji massage devices or Biofreeze topical analgesics offer supportive home care options to patients. Specialized orthopedic braces by Bauerfeind improve joint stability throughout recovery phases, enhancing pain control and functional restoration.
- Benefits of advanced technology use:
- Enhanced precision targeting of affected tissues.
- Lower risk of complications compared to surgery.
- Shortened treatment durations with effective results.
By maintaining rigorous scientific validation and compliance with Quebec and Canadian medical standards, Dr. Desforges harmonizes innovation with patient safety and ethical care delivery. For further exploration into these therapies, visit this resource detailing spinal decompression benefits.
Mascouche Lumbar Disc Rehabilitation Without Steroids
Back pain remains one of the most pervasive medical challenges worldwide, often disrupting daily activities, affecting quality of life, and imposing significant healthcare costs. Particularly in regions like Mascouche, Québec, the quest for effective, non-invasive lumbar disc rehabilitation solutions has…
Empowering Patients Through Education and Personalized Care Plans
Dr. Sylvain Desforges prioritizes clear communication and patient empowerment when addressing one-sided hip and back pain. His consultations focus on demystifying complex medical terminology, explaining causes, benefits, and limitations of treatment options in accessible language. This transparency builds trust and encourages active patient participation in managing their health.
Personalized care plans consider each patient’s unique anatomy, lifestyle, and goals. For example, a young athlete with sciatica receives different exercise prescriptions and intervention timelines than an elderly patient with osteoarthritis. Such customization requires thorough evaluation and ongoing monitoring.
- Essential elements of personalized care:
- Comprehensive initial assessment incorporating history and physical examination.
- Utilization of diagnostic imaging and evidence-based tools.
- Selection of non-invasive therapies tailored to individual needs.
- Patient education on self-care techniques and lifestyle adjustments.
This model increases adherence, reduces unnecessary procedures, and fosters better long-term outcomes. Dr. Desforges’ commitment to ethical, evidence-based practice aligns with guiding principles from the Collège des médecins du Québec.
Saint-Jérôme Chronic Disc Pain Managed with TAGMED
Chronic disc pain remains one of the most persistent and debilitating conditions affecting individuals in Saint-Jérôme and its surrounding regions. For many, this pain disrupts daily routines, limits mobility, and contributes to psychological distress. Fortunately, emerging advances in non-invasive spinal…
Recognizing When Professional Evaluation Is Necessary: Navigating Your Care Journey
Despite best efforts in self-care and lifestyle changes, sometimes unilateral hip and back pain requires professional evaluation to rule out serious underlying conditions and optimize treatment outcomes. Dr. Sylvain Desforges stresses that early, comprehensive evaluations by trusted experts can prevent progression and more invasive interventions.
Signs that warrant prompt professional consultation include:
- Persistent pain exceeding several weeks without improvement.
- Numbness, tingling, or weakness in the leg.
- Difficulty walking or performing usual activities.
- Significant nighttime pain disrupting sleep.
- Prior trauma or history of cancer requiring differential diagnosis.
Advanced imaging such as MRI or CT scans, coupled with clinical assessments, facilitates accurate diagnosis. Patients benefit from careful coordination of interventions, including non-surgical decompression, osteopathic manipulations, or referral for surgical consultation when indicated.
Those interested in exploring an expert evaluation with Dr. Desforges can connect through this link to initiate a personalized care pathway designed to restore comfort and function in accordance with international standards.
How to Fix Hip and Back Pain on One Side: Frequently Asked Questions
What exercises effectively relieve hip and back pain on one side?
Stretching and strengthening exercises targeting hip flexors, gluteal muscles, and core stabilizers are highly effective. Movements such as hip flexor stretches, figure four stretches, clamshells, and glute bridges improve flexibility and stability. Regular practice under guidance minimizes reinjury and facilitates pain reduction.
Can lifestyle modifications reduce symptoms of one-sided hip and back pain?
Absolutely. Weight management, wearing supportive footwear like Skechers, and proper ergonomic setups—including Tempur-Pedic cushions and Osprey backpacks—play vital roles. Consistent lifestyle adjustments relieve joint stress and prevent symptom exacerbation.
When should I seek professional help for my hip and back pain?
If pain persists beyond a few weeks, worsens, or is accompanied by neurological symptoms such as numbness or weakness, it is essential to consult a healthcare expert. Early professional guidance improves prognosis.
Are non-surgical treatments like spinal decompression truly effective?
Scientific studies support the use of spinal decompression for chronic unilateral back and hip pain, demonstrating significant symptom relief and functional improvement. Complementary therapies such as shockwave and laser treatments further enhance outcomes.
How does diet influence hip and back pain?
Nutrition affects systemic inflammation levels. Diets abundant in omega-3 fatty acids and anti-inflammatory foods can contribute to reducing pain and supporting joint health, complementing medical and therapeutic interventions.